So final body fixings are all at the front of the car. I need to fabricate the two headlight fitting brackets and fix the body right at the front under where the radiator brackets which will be welded on still. The headlight brackets are made from a few strips of steel. I started marking 40mm from the end and making a 90degree bend and then a single fixing hole. These brackets are mounted to the top of the suspension towers and bolted through to give a solid fixing. I haven’t pictured the bolt but I used a low profile pan head bolt which will not void with the top wishbone through its travel. Once I have an initial fixing of the bracket it then needs to be bent/manipulated to match the contour of the body. This wasn’t as hard as a first thought and a just a single return bend further up the bracket allowed it to sit nicely up against the body.

The headlight themselves are mounted on a single spigot and bolt through a central hole, which is opened up in brackets once fitted. The inner bracket creates the backplate and a front bracket aligned with the rear sandwiches the body tub between them. In order to get the headlights sitting level and even with the dimensions of the body it’s imperative that I mirror each bracket correctly and keep the dimensions the same. The only issue is it’s a fibreglass body so there is no such thing as centrelines or symmetry as such, but I will get as close to identical as possible… 3-4 mm should be an acceptable tolerance to deal with but all I can do is fit one and hope my second is relatively the same.
In order to align the front bracket with the back bracket I simply marked and drilled a small center hole through the front bracket. Then when offered up to the rear bracket drilled the hole through that one also.
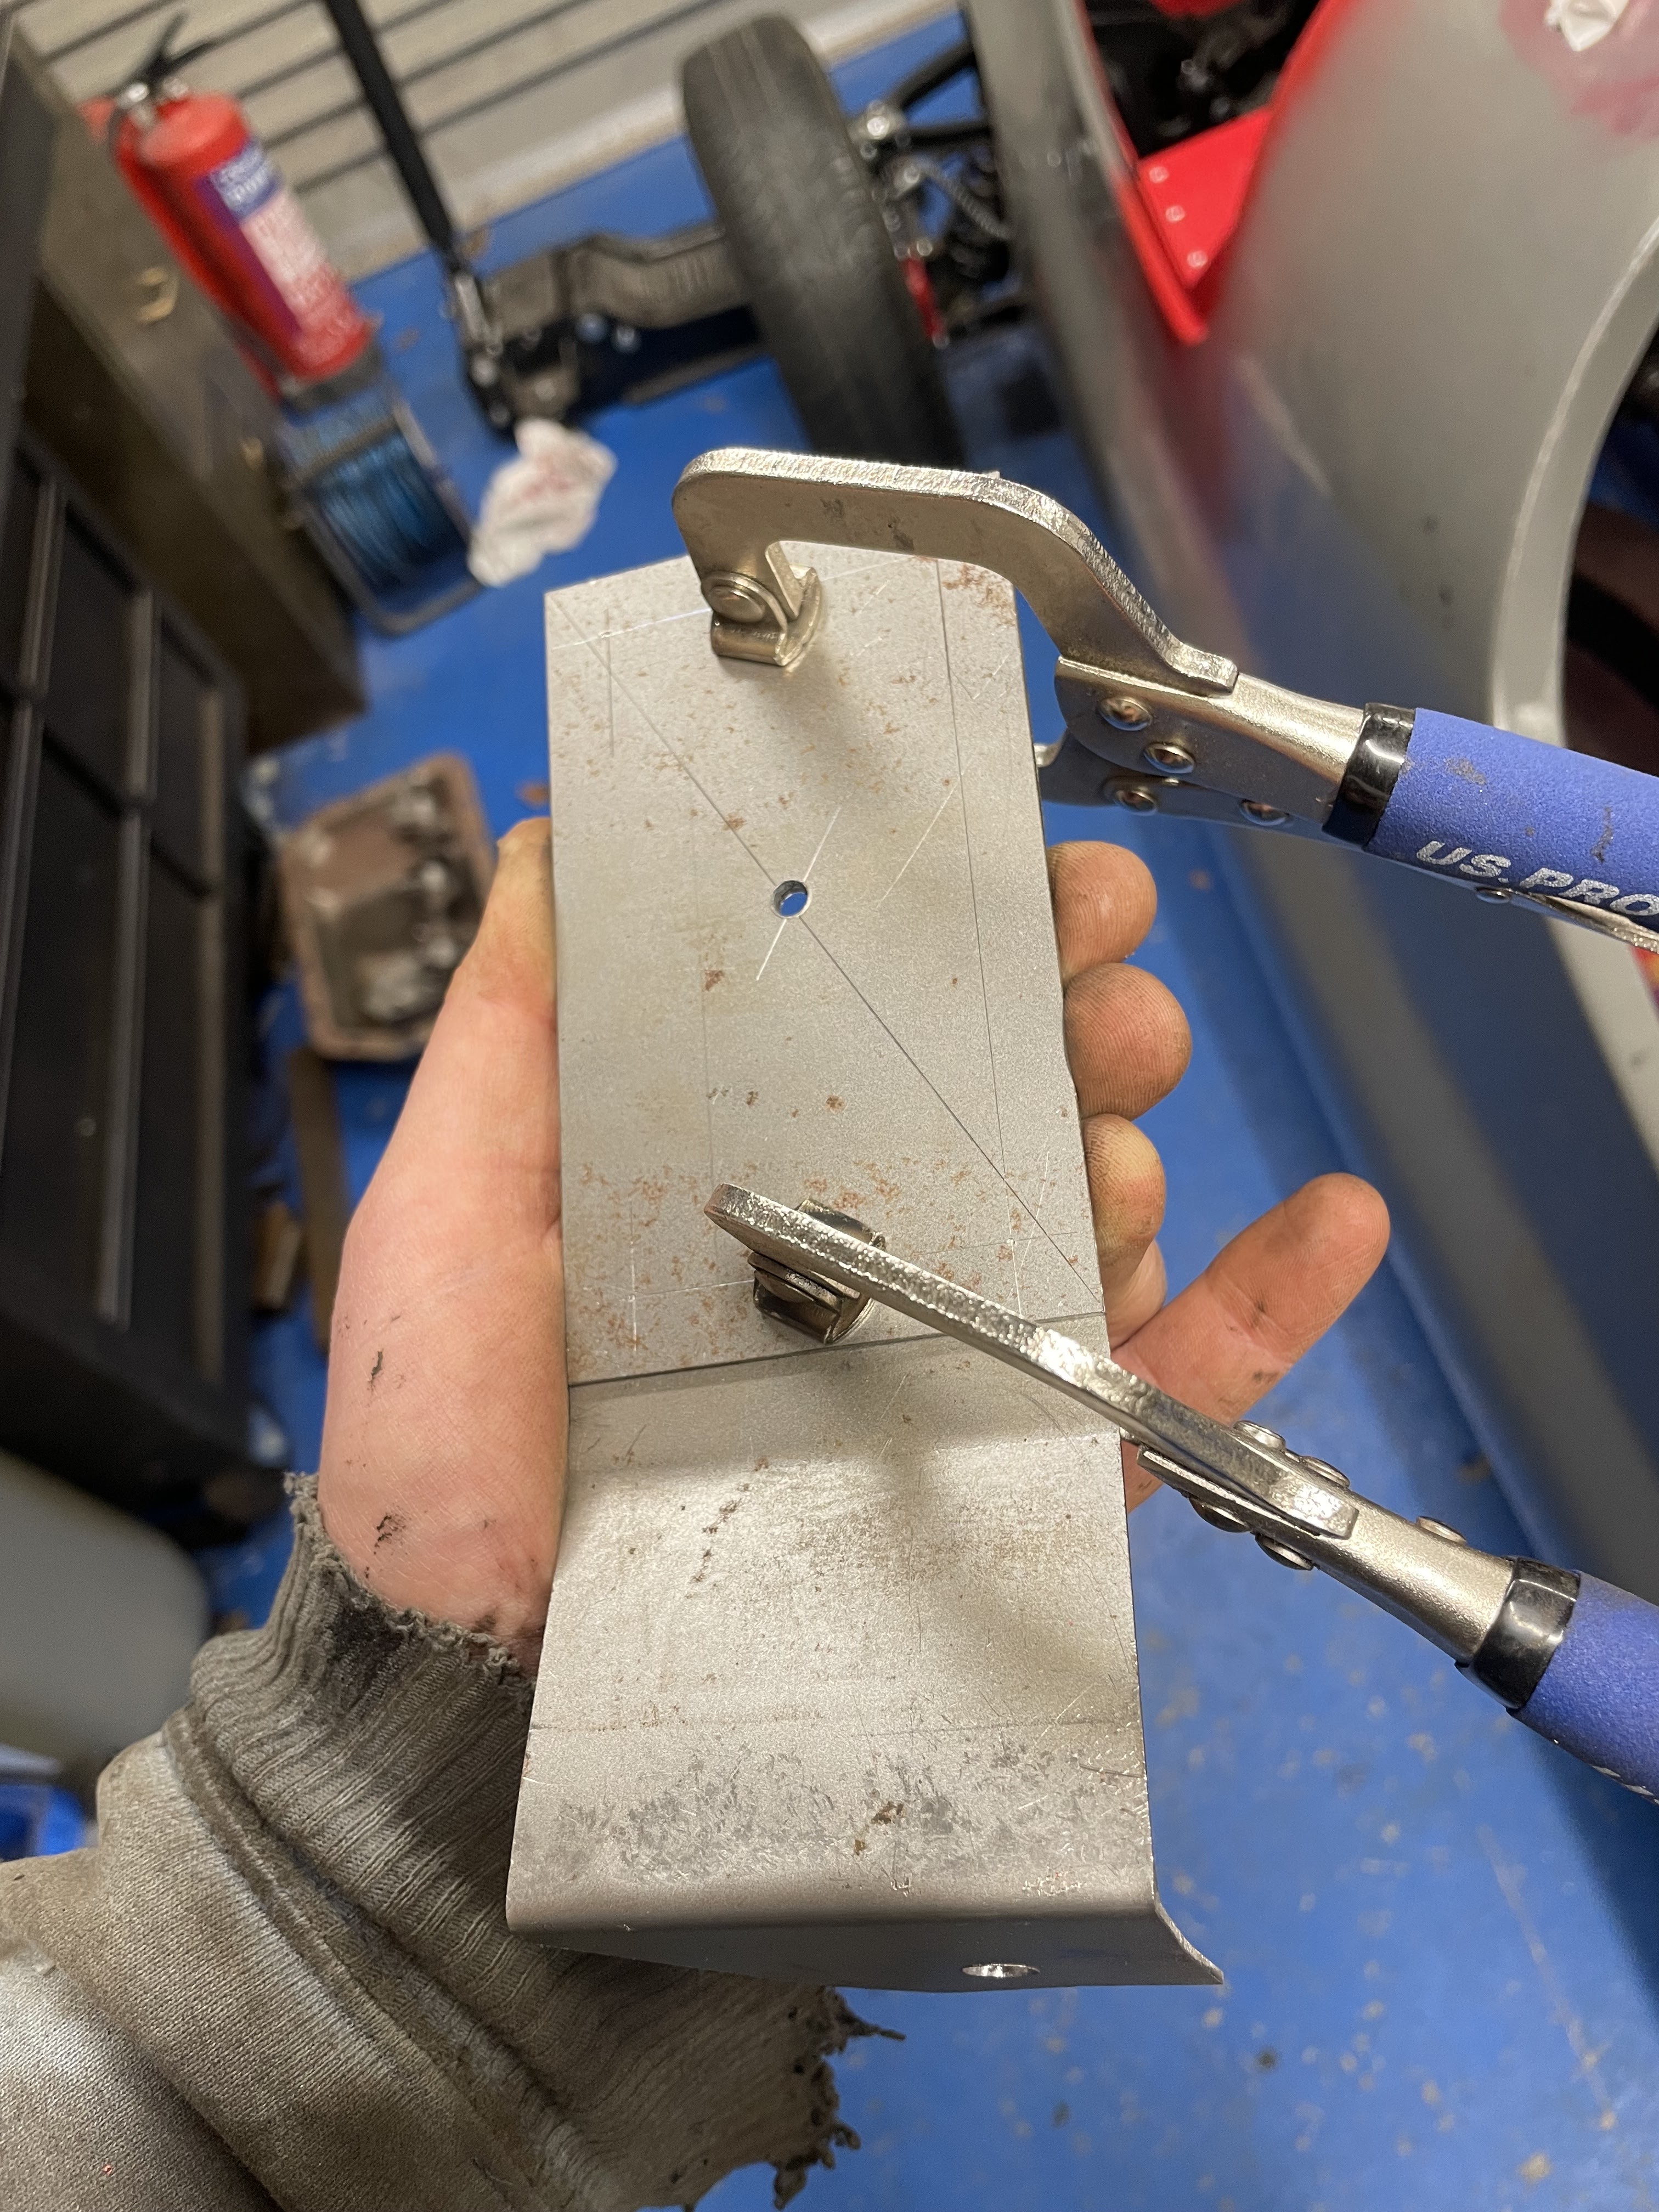
I then marked a line 8mm internal on the front bracket around each side. This then gives me my corner marked to drill for the fixing bolts. The same again as the center hole just simply drilled through to mirror onto the back bracket also. Once that was done I trial fitted the bracket onto the body and one at a time drilled each hole through the body, starting with the center hole. I was really pleased with the fixing of the first bracket and it gave me a starting point for some dimensions in regards to fixing the other side. I followed the same method for creating the second bracket and once done started the fixing exactly the same.


So both headlight brackets now fitted, just need removing once more for painting and after measuring the external brackets off a fixed chassis point either side, I have 3mm difference between the offside against nearside external bracket. That will not be noticeable whatsoever when looking at the car so overall am fairly happy with how that all went… a productive and enjoyable day for sure and another little tick on the list of jobs.
 Finally for this update very very exciting news, in my opinion. I took delivery of my wheels and knock on hubs. I knew from the start of this build that I wanted wire wheels but after concluding brand new chrome wheels and tyres were just simply unaffordable for me I had settled for a painted alternative either new or second hand. The problem or risk you take with secondhand wire wheels is that sometimes the wheels themselves are beyond their lifespan and the cost of refurb or repair then outweighs replacement units. Inspecting my latest purchase and it would seem that I have dropped on with a superb set of chrome finish wheels which have been well cared for and looked after. Initial inspection shows all the splines are tight and nicely tapered with no rounding which would cause the wheel to jump on the hub. Cosmically they look great also, just a slight patina that you would expect with a second hand used wheel without compromising the overall finish. So some further cleaning will maintain the finish and shine 100%
They really are superb and will look beautiful when all fitted against the car, truly stand the car out in a crowd with wheels like these but I’m a tad intimidated by the cleaning processes…. Those that have seen my daily drive will agree, I’m not a car cleaner type of person. More of a £5 for a drive through car wash, job done.
I will have a play over the upcoming weekend and take some pictures of the wheels temporarily fitted along with some other little jobs like rounding off the edges of the headlight brackets and painting them etc… All in all a bloody great chunk of progress. Shout out to Pete who sold me the wheels, great to know honest people still exist in the world without trying to scam people out of cash, unlike most sale posts on social media. Thanks again Pete you have definitely put the icing on my cake when it comes to my latest project.