

The lower two strap fixings are fitted with eye bolts the inner of which utilises the original Spitfire fixing point on the chassis. The outer one is simply drilled through a bracket that was installed when I put the chassis outriggers and out rails on and then the spreader plate is fitted underneath allowing the eye bolt to bolt through from above. I’m going to fit some sound deadening pads to the floor pan sections under the seats, I fear this will be a tad boomy if not. The under seat void is going to be a real bummer for loosing stuff, as I’m fixing both seats without runners, so I might make a little baffle plate to stop stuff rolling around and getting impossible to access because of the seat position.


I started with a length of flat bar steel (3mm) which creates the horizontal and this was cut to length and curved each end to match the body tub. Remember my rear bulkhead is 2mm steel as opposed to plywood so it already has a good tensile strength and I’m just beefing everything up and adding some bracing to help absorb any impact that it might have to deal with.

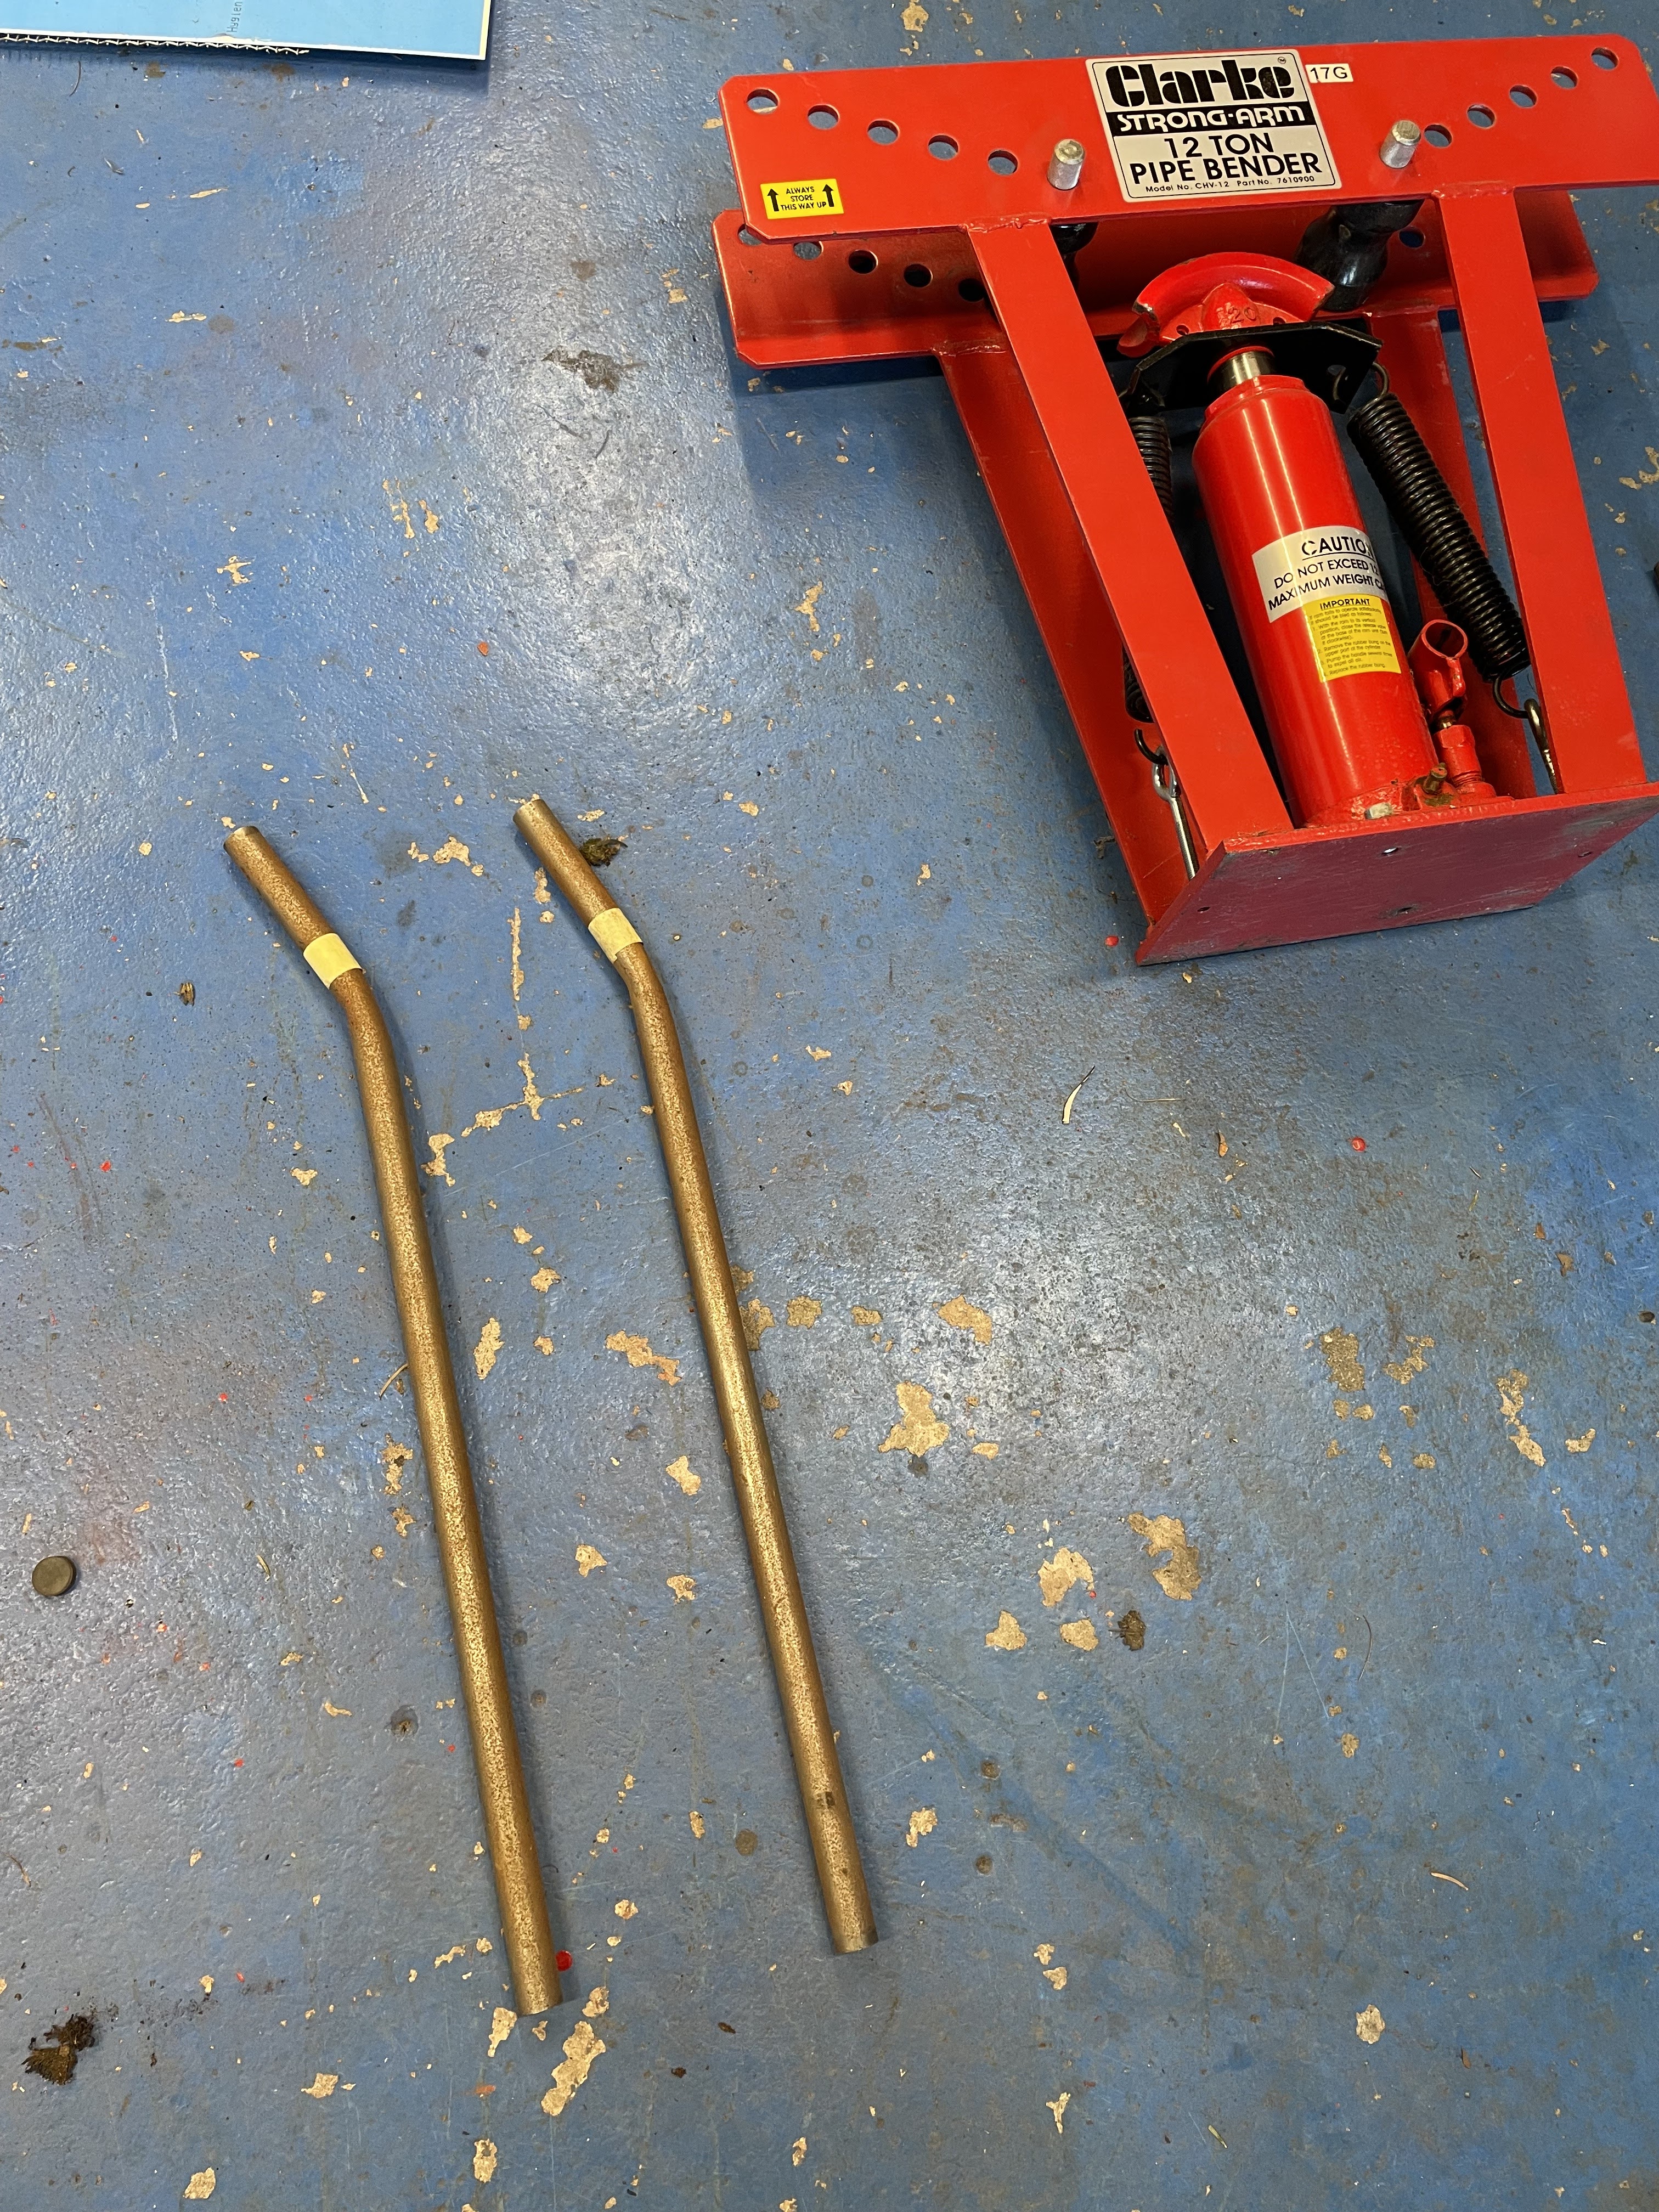
I dug out the pipe bender again (Christmas money well spent a few years ago now) then I had to put a small curve into each support tube in order to clear the petrol tank.
With the two tubes bent I was able to cut the mitre into the bottom end and weld it onto a 6mm steel fixing plate, which is then bolted onto the chassis using the original fixing positions on the rear suspension cross brace. The other end of the tub was then tacked to the rear horizontal cross brace I had just made so I was then able to remove the whole rear bracing and beef up all the welds along with tarting it all up with some paint.

With both braces in place and painted it was really really solid and should be more than sufficient for its purpose. However I hope I should never need to test this functionality…. Better safe than dead haha.
The next niggle I had was a little knocking where the rear braces bolt down through to the chassis. When I fitted the boot floor I kept everything as low as possible to keep the petrol tank down as mentioned previously. This in turn has allowed the boot floor to rest on the chassis mounts, and despite being bolted through and torque down tight it was still allowing a slight tapping/knocking between the flex of the alloy boot floor and the chassis top mounts when giving it all some movement. I was aware of this issue prior to the seat belt fixing braces, but this has now accentuate it slightly and I was reminded when I was giving it a bloody good wobbling when I fitted them.

I have solved this problem by unbolting the lower fixing bolts from the newly made bracket which has allowed me to slide some strips of rubber between the chassis mounts and the underside of the boot floor, then when everything has been bolted back down I was able to stand in the boot (on the rear diff) and bounce up and down with no knocking or tapping whatsoever…. Great success!
Next on the list of jobs was to fix the seats into position. The seats have to be secure obviously but not to the same extent as the seat belt fixing braces, still I belt and braces everything I do so I doubt it will be any different for this task.


Next I added two further strips of flat bar steel to give more support for under the seat. I cut them to length and welded them into position so that the seat frame becomes one piece ready for painting. I could then fit the seat into position and really get a flat solid mounting position which felt much more substantial. I made four fixing bolts through the seat shell into the now complete seat frame and secured using some M8 bolts and rivnuts. This will allow me to remove the seats easily should I want or need to later on.

Now I was able to fix the seats shells and the new harnesses and really get a feel for the driving position overall…. I was very happy to be fair. Yes it’s bloody tight and small but that is the nature of the car. I will have to be friends with whoever is in the passenger seat as they will be very close… but overall it feels very engaging and I think it will give a rewarding driving experience. All switches are in easy reach and visibility is good with all the gauges and warning lights. I’m extremely happy that I fitted a removable steering wheel boss as this has made getting in and out significantly easier. Just the passenger side to do also and then I can start making some commitments on getting the seats trimmed, along with some interior trimmings that I have a few ideas for also.
No comments:
Post a Comment